Whether you're aiming for a subtle radiance or a dazzling sheen, mastering the art of applying highlighter can elevate your makeup game to new heights. Highlighter is a versatile makeup product that enhances your features and bestows a youthful glow. From choosing the right shade to applying it precisely, there are several key steps to achieving the perfect glow with highlighter.
Let's dive into the world of highlighter and uncover the secrets to mastering its application.
Selecting the Right Shade and Formula
Achieving the perfect glow starts with selecting the right shade and formula for your skin tone and type.
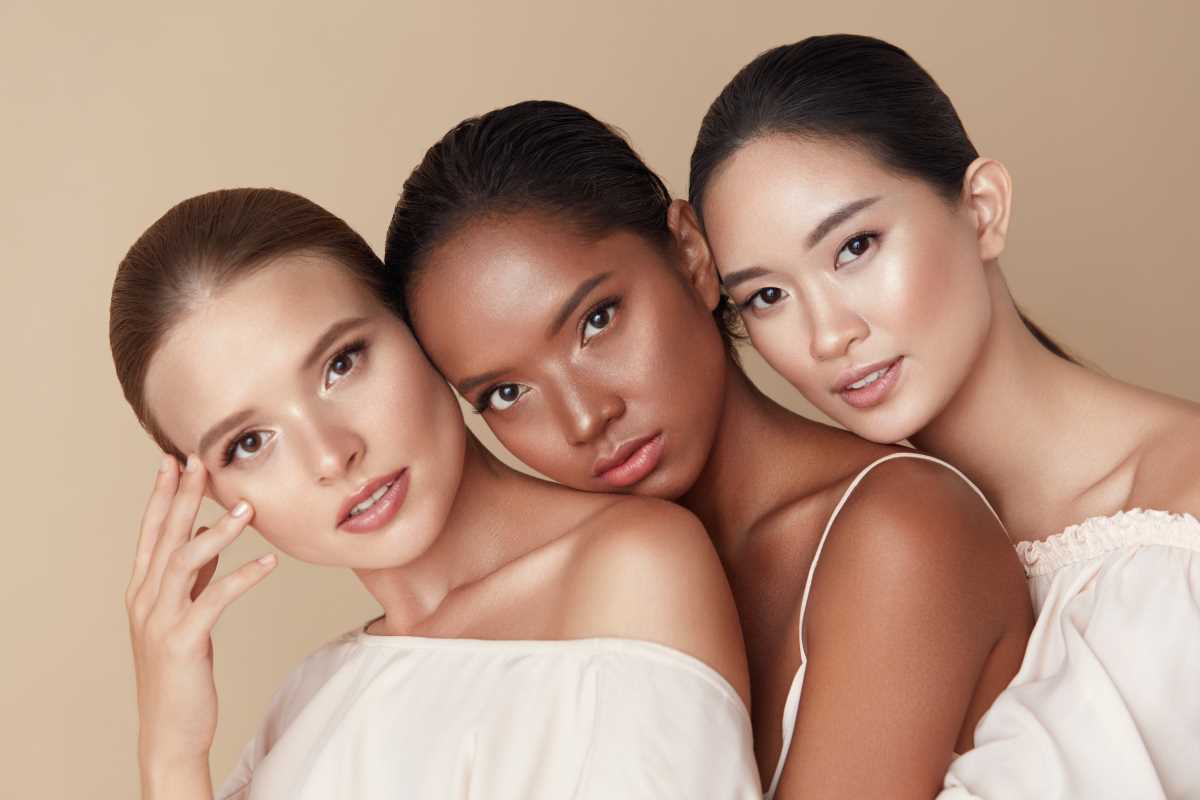
- For fair skin tones, opt for highlighters with a pearlescent or champagne hue.
- Medium skin tones are complemented by golden or peachy highlighters, while deeper skin tones can rock bronze or rose gold shades.
- Choosing a highlighter that complements your skin tone will create a natural and seamless finish, enhancing your features without looking ashy or overly dramatic.
Beyond shade, consider the formula. Powder highlighters are ideal for oily skin and provide a subtle, buildable glow, while cream highlighters work well for dry skin, offering a dewy finish. Liquid highlighters are versatile and can be mixed with foundation for an all-over glow or applied directly for a more intense highlight.
Importance of Skin Preparation
Before applying highlighter, proper skin preparation is essential. Start with a clean, moisturized face to ensure smooth application and longevity.
Use a lightweight moisturizer suited to your skin type to create a hydrated base. Follow with a primer to blur imperfections and create a smooth canvas. A well-prepared base not only enhances the highlighter's glow but also helps it last longer.
Applying Highlighter to the Cheekbones
One of the most popular areas to apply highlighter is the cheekbones.
- To achieve a glowing complexion, use a fan brush or a small tapered brush to apply the highlighter to the highest points of your cheekbones.
- Sweep the product in a C-shaped motion from the outer corner of your eyes towards your temples.
By focusing the highlighter on the cheekbones, you can create a lifted and luminous effect that adds dimension to your face.
Highlighting the Brow Bone and Inner Corner of the Eyes
Accentuating the brow bone and inner corner of the eyes with highlighter can dramatically enhance your look.
Use a small eyeshadow brush to apply a minimal amount to the brow bone just beneath the arch. This technique lifts and defines your brows, making your eyes appear more awake and refreshed. Additionally, dabbing a bit of highlighter on the inner corners of the eyes brightens the eye area, making your eyes pop.
Enhancing the Cupid's Bow and Bridge of the Nose
For a radiant glow, apply highlighter to the cupid's bow and bridge of the nose.
- Highlighting the cupid's bow creates the illusion of fuller lips and draws attention to your pout.
- Similarly, applying highlighter to the bridge of the nose adds subtle luminosity and can make the nose appear more defined.
- Use a precise brush for application to maintain a natural finish.
Techniques for Different Face Shapes
Adapting highlighter application techniques to your face shape can enhance your natural features. For a round face, focus on the tops of the cheekbones and down the center of the nose to create the illusion of length.
Those with square faces should highlight the center of the forehead and chin to soften angles. Heart-shaped faces benefit from highlighting the cheekbones and brow bones to balance the width of the forehead.
Blending and Layering Highlighter
For a seamless finish, blending is crucial. Use a damp makeup sponge or a clean brush to blend the edges of the highlighter into your foundation, ensuring there are no harsh lines. Layer the highlighter with a setting powder for a subtle glow or with additional highlighter for an intense shine, depending on your preference.
Using Highlighter for Different Occasions
Adapt your highlighter application according to the occasion.
- For everyday wear, a subtle glow on the cheekbones and brow bone suffices.
- For special events or nighttime outings, feel free to amp up the glow by adding more product to the high points of your face.
Consider using a more reflective formula for a dramatic effect under artificial lighting.
Setting Your Makeup with Setting Spray
Once you have applied highlighter to the desired areas, it's essential to set your makeup with a setting spray. This ensures longevity and a seamless finish, helping to lock in your makeup, including the highlighter, and preventing it from fading or smudging throughout the day. Choose a setting spray suitable for your skin type to maintain your glow for hours on end.
Mastering the art of applying highlighter is about enhancing your natural features and achieving a glow that suits your style and occasion.
By selecting the right shade and formula, preparing your skin, strategically applying highlighter to key areas, and setting your makeup for long-lasting wear, you can create a luminous complexion that captures the light beautifully.
Embrace the versatility of highlighter, experiment with different techniques, and find your signature glow that makes you shine from within.
 (Image via